
Where a Subfloor Moisture Barrier Belongs—and Where It Does Not
Choose and locate subfloor moisture control for wood framing, crawl spaces, concrete slabs, floating floors, bonded finishes and wet rooms.
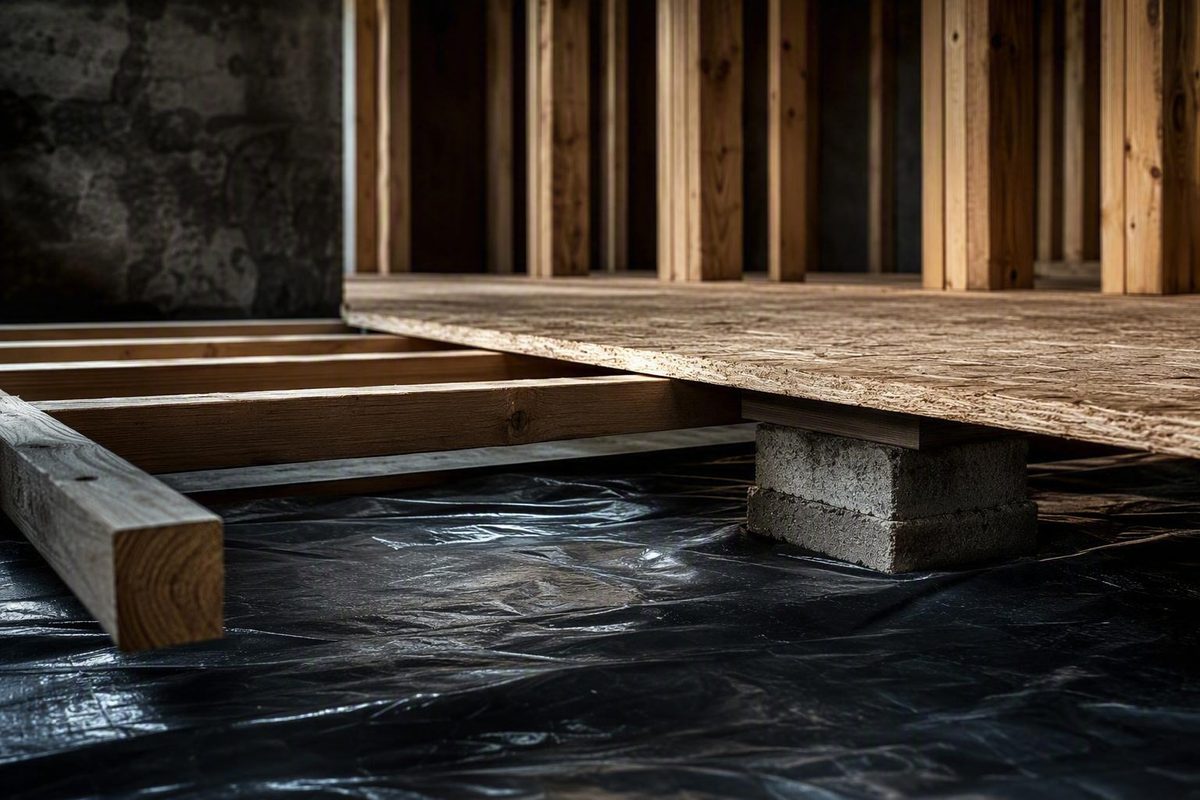
A “subfloor moisture barrier” is not one universal sheet placed directly beneath every finish. The right control layer depends on where moisture originates, whether the substrate is wood or concrete, and how the finish is attached.
The first drawing decision is therefore not product thickness. It is which boundary must stop or manage moisture:
- soil surface in a crawl space;
- underside of an exposed wood-framed floor;
- concrete-to-wood interface;
- top of a concrete slab beneath a floating finish;
- bonded flooring interface; or
- waterproof plane immediately below tile in a wet area.
These layers solve different problems. Under-slab thermal design is separate; see under-slab insulation requirements and layer coordination.
Select the location before the material
| Assembly | Primary moisture-control location | What belongs on the drawing |
|---|---|---|
| Wood subfloor over conditioned space | Usually no dedicated vapor barrier between wood and finish | Moisture testing, approved underlayment and finish-manufacturer installation requirements |
| Wood subfloor over conditioned crawl space | Crawl-space earth and perimeter, not automatically the top of the subfloor | Continuous ground vapor retarder, sealed perimeter and penetrations, wall insulation, air sealing and a defined conditioning/dehumidification method |
| Wood subfloor over vented crawl space | Ground first; underside of framing only as a designed air-and-vapor-control assembly | Ground cover plus, where specified, continuous sealed low-permeance insulation beneath framing—not loose polyethylene between joists |
| Wood panels or sleepers over concrete | Between concrete and moisture-sensitive wood, as part of a tested floor system | Slab test results, compatible vapor-control system, treated sleepers if required, panel attachment and perimeter clearances |
| Floating finish over concrete | Immediately above concrete when required by the flooring system | Specified sheet membrane or combination underlayment, seam laps/tape and turned-up or trimmed edges |
| Glue-down finish over concrete | Bonded to the prepared slab | Compatible liquid-applied or resin moisture-control system; adhesive and mitigation products from an approved system |
| Tile over wood in a wet area | Directly below tile and connected at transitions | Waterproof membrane, sealed seams, floor-to-wall transitions, penetrations and drain integration |
Wood framing: control the crawl space before covering the subfloor
Putting polyethylene directly above plywood or OSB can reduce upward drying. If an impermeable finish sits above it, the wood may be trapped between low-permeance layers. Start instead with bulk-water drainage, plumbing leaks, crawl-space ground moisture and air leakage.
For an unvented crawl space, the 2021 IRC requires exposed earth to receive a continuous Class I vapor retarder, with joints lapped 6 inches (152 mm), sealed or taped, and edges extended at least 6 inches up and sealed to the stem wall. It also requires an approved exhaust, conditioned-air or dehumidification strategy (ICC, IRC R408.3). Verify the locally adopted code and amendments rather than copying that edition into every project.
A conditioned crawl space is an assembly, not merely a crawl space with closed vents. Building Science Corporation describes it as air-sealed from exterior air and soil, covered by a continuous vapor-impermeable ground layer, insulated at the interior perimeter and provided with air exchange or dehumidification (Building Science Corporation).
Where a vented crawl space must remain, a more robust floor detail can place continuous foil-faced rigid insulation beneath the framing. The layer must be both low-permeance and airtight, with sealed seams and a continuous connection through the rim area; it keeps humid crawl-space air away from colder wood rather than relying on cavity insulation alone (Building Science Corporation). Coordinate termite inspection provisions, fire protection and exposed-foam protection with the jurisdiction and product listing.
Do not use a new membrane to conceal wet framing. Wood flooring guidance calls for moisture testing before installation and says elevated readings must be resolved first. It also warns never to install wood flooring over a known moisture condition (Somerset Hardwood Flooring).
Concrete: test first, then match the installation method
Concrete can deliver moisture to flooring from residual construction water, ground moisture or both. EPA documents failures ranging from warped wood flooring over a damp cavity to uncured tile adhesive on a slab-on-grade where moisture may have wicked from the sub-slab fill or migrated as vapor (EPA). A surface that looks dry is therefore not an acceptance test.
Show the test method, test locations, acceptance limit and responsible party in the specification. For wood flooring, current industry guidance identifies in-slab relative-humidity probes under ASTM F2170, calcium-chloride testing under ASTM F1869 and electrical meters under ASTM F2659, while noting that electrical readings are generally preliminary rather than a conclusive go/no-go test (Somerset Hardwood Flooring). The applicable limit must come from the selected flooring, adhesive and mitigation-system manufacturers—not from a generic internet threshold.
Then coordinate the control layer with attachment:
- Floating floor: use the sheet membrane or integrated pad specified by the flooring manufacturer. Detail laps, taped seams, penetrations and perimeter treatment.
- Glue-down floor: loose polyethylene prevents bonding. Specify a slab-applied mitigation system compatible with the adhesive, patching compound and finish.
- Wood subfloor over slab: put the vapor-control layer between concrete and moisture-sensitive wood as required by the selected assembly. Do not fasten through it casually; every penetration and perimeter condition must follow that system’s details.
An existing slab without a known below-slab retarder deserves particular caution, but an unknown condition does not justify guessing. Test the slab and obtain a written, compatible floor-system recommendation.
Wet rooms: waterproofing is a different assignment
A crawl-space ground membrane or slab vapor-control product does not waterproof a bathroom floor. In a tile assembly, waterproofing belongs immediately below the tile and must remain continuous at seams, walls and penetrations.
For example, Schluter’s DITRA handbook states that the polyethylene membrane protects moisture-sensitive substrates, but a waterproof floor requires its seams and floor-to-wall transitions to be sealed with the specified banding system (Schluter Systems). The lesson is broader than one product: specifying “waterproof membrane” without transition details leaves the most consequential paths unresolved.
What to put in the documents
A usable moisture-control detail should identify:
- substrate and supporting space below;
- expected moisture source and direction;
- membrane type and required permeance or tested system;
- exact vertical location in the assembly;
- seam, edge, penetration and transition treatment;
- compatibility with adhesive, primer, patch and finish;
- substrate moisture-test method and acceptance limit;
- repair procedure for punctures;
- responsibility for testing and written approval before covering; and
- applicable manufacturer instructions and locally adopted code.
The shortest reliable rule is: control soil moisture at the soil, slab moisture at the slab-flooring interface, and liquid water directly beneath the wet-area finish. Do not add an impermeable layer above wood until the assembly’s drying direction and every adjacent layer are understood.